Create a Base App
We will now start to create your first STRUDEL app using the strudel-cli you installed in the previous step. The strudel command has several sub-commands to do different tasks; to create an app named planets-app use the create-app sub-command like this:
strudel create-app planets-app
The command should give the message Successfully created your strudel app! and provide some additional hints on next steps (which are not shown here). This will also generate a new directory called planets-app with all of the base app files in it.
Here is a breakdown of all the files generated by create-app:
planets-app
├── public
├── src
│  ├── components # Components that are shared across the app
│  ├── context # State variables and actions shared across the app
│  ├── pages # Task Flows and pages that are automatically registered to the app router
│  │  ├── playground
│  │  │  └── index.tsx # Playground component for testing code
│  │  └── index.tsx # Home page component
│  ├── types # TypeScript definitions used across the app
│  ├── utils # Utility functions and hooks used across the app
│  ├── App.tsx # Top-level app component
│  ├── declarations.d.ts
│  ├── index.css # Base CSS styles
│  ├── main.tsx # App entry point
│  ├── router.ts # Auto-generated routes
│  ├── theme.tsx # Full theme configuration
│  └── vite-env.d.ts
├── .eslintrc.cjs
├── .gitignore
├── README.md
├── index.html
├── package.json
├── strudel.config.ts # Base strudel configuration file
├── tsconfig.json
├── tsconfig.node.json
└── vite.config.ts
At this point your planets-app is ready to run. First open up a separate terminal window then navigate to the generated planets-app directory and use the Node Package Manager (npm) that you installed earlier to install the dependencies needed by your app.
cd planets-app
npm install
This will produce a fair amount of output as the NPM tool fetches and installs all the JavaScript dependencies that STRUDEL uses. It will print out some warnings about deprecated packages and security vulnerabilities. This is normal. For a real-world deployment, you would need to look at these warnings and vulnerabilities more closely, but you can safely ignore them for now.
Assuming you didn't get any errors in the step above, you can now run your app from the same directory:
npm start
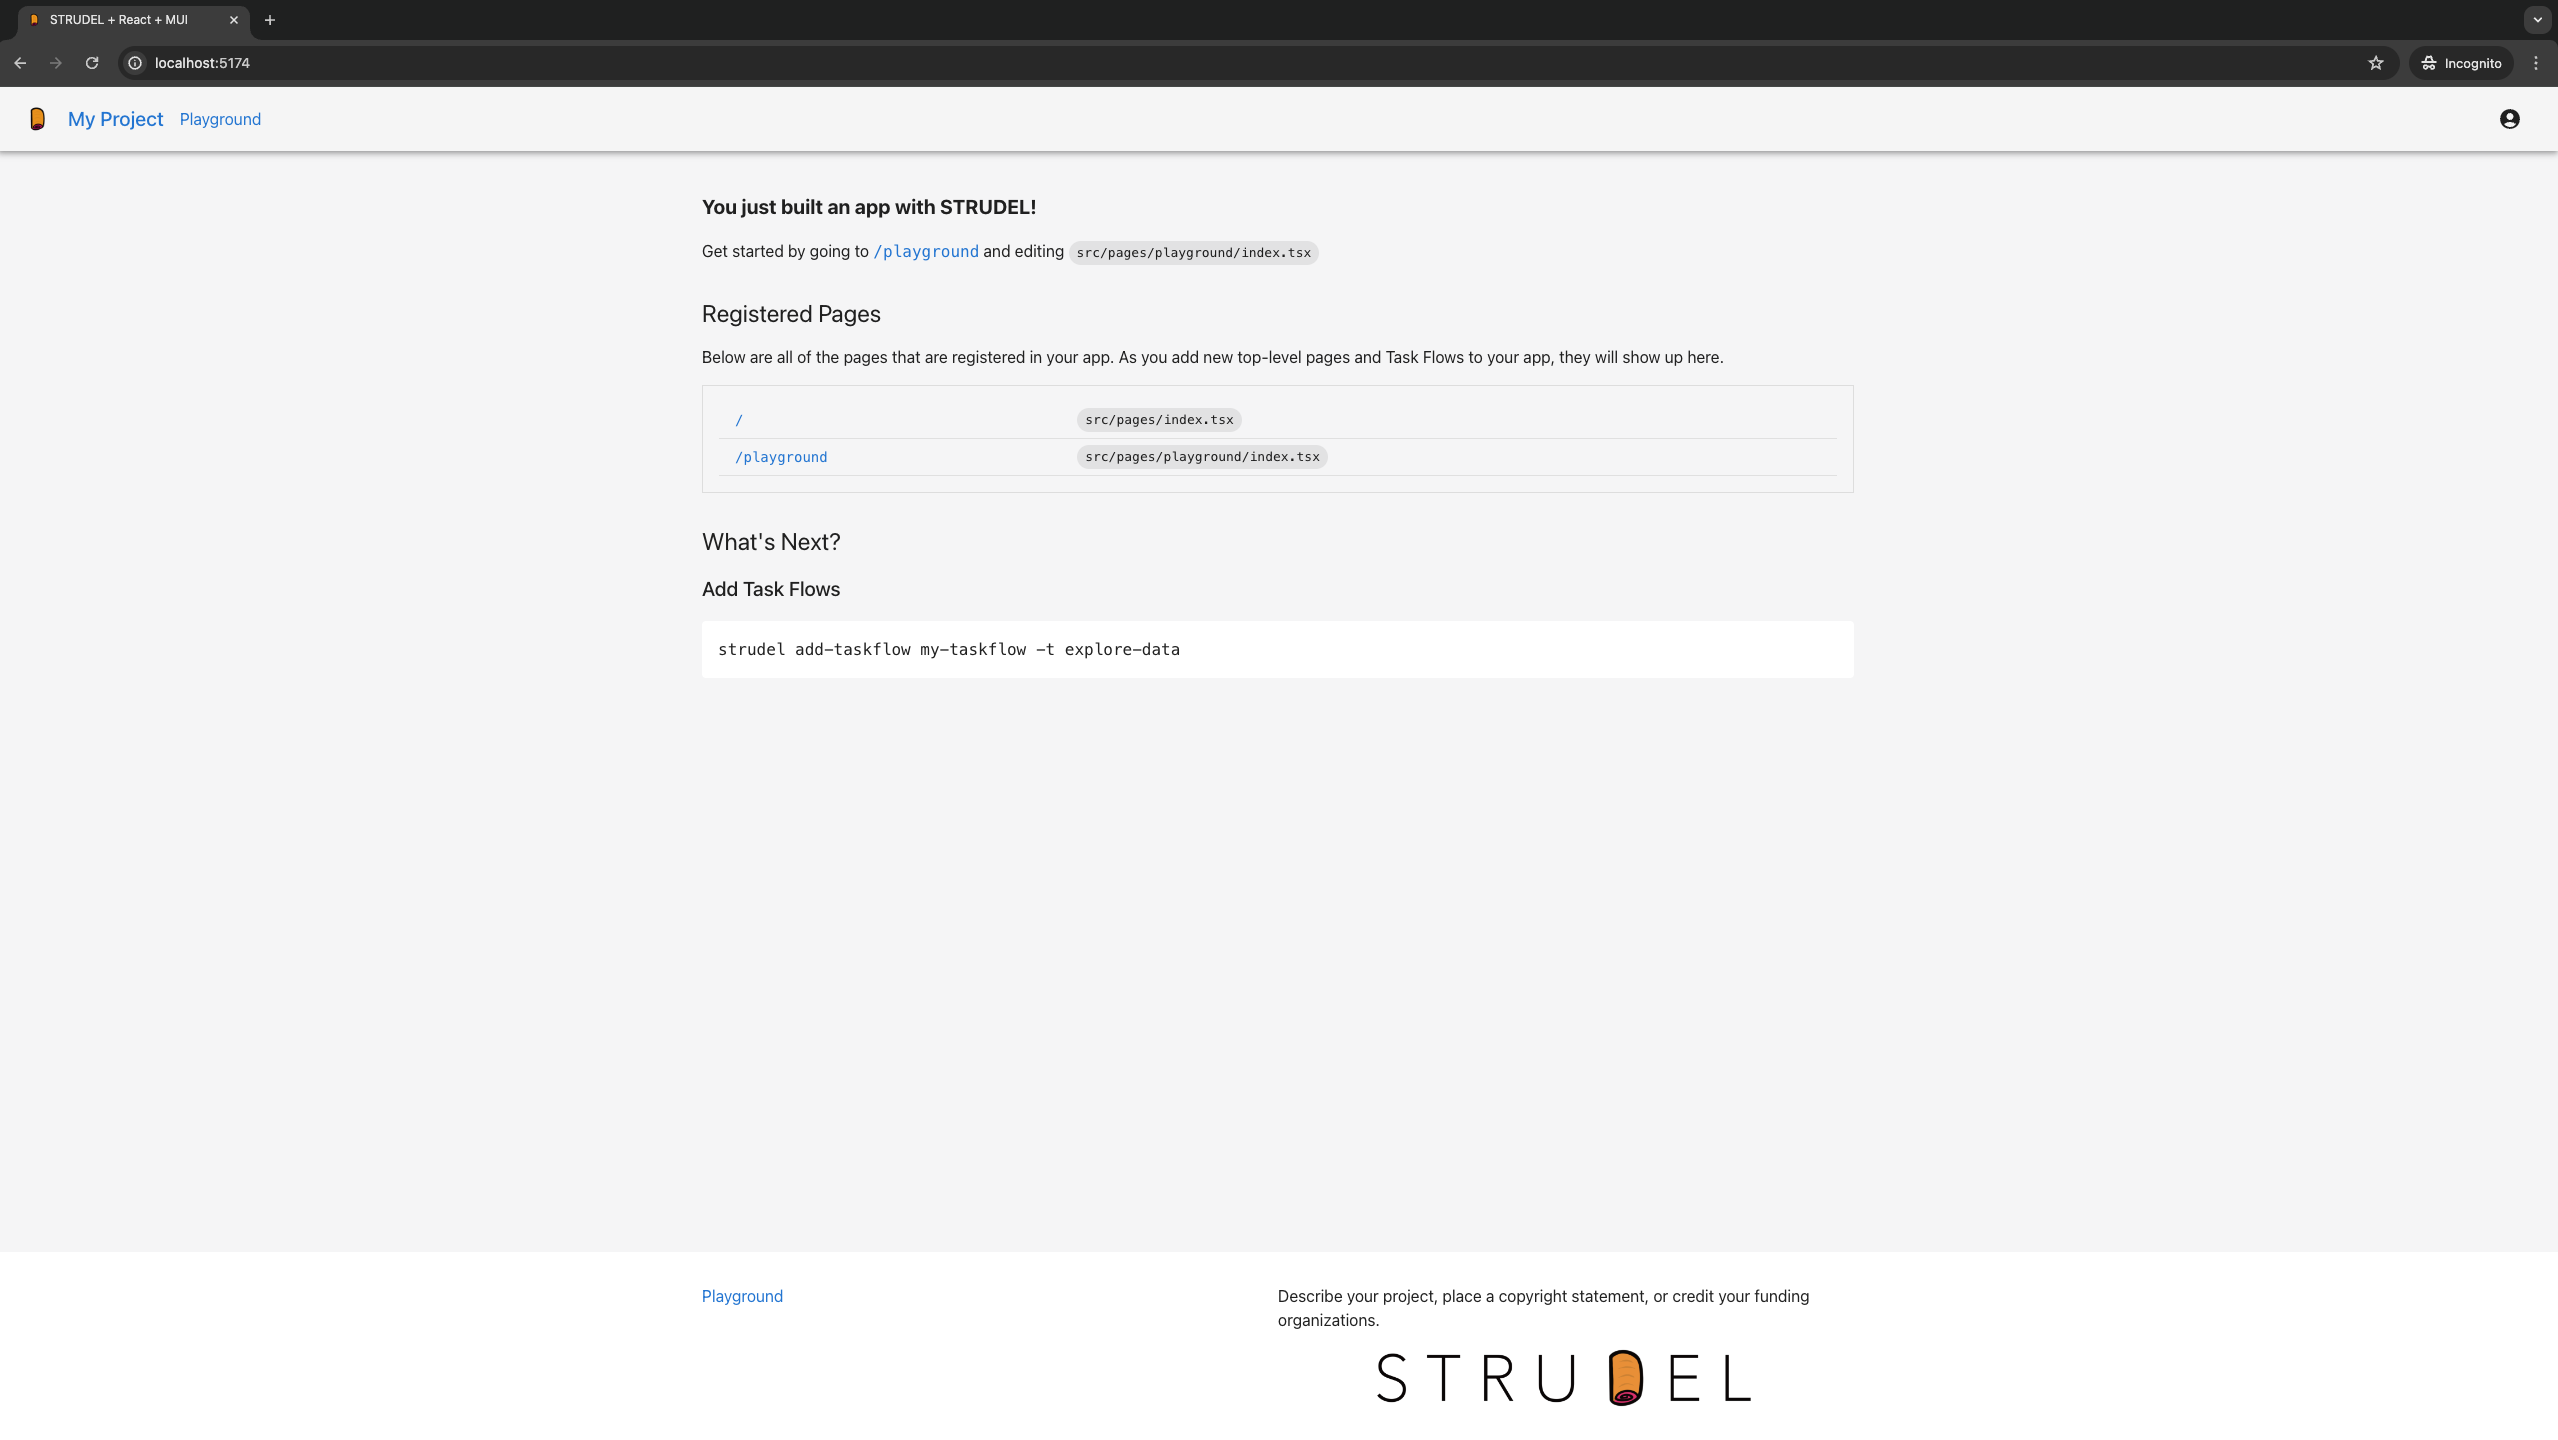
This will start up a local server to run your application from the browser. Once it finishes running, you should be able to open the home page (src/pages/index.tsx) of your app by opening a browser and navigating to http://localhost:5174/.
In the future, when you run your app, you will not need to perform the install step -- just npm start. In fact, the development server that this runs is able to update the app "live" as you change the code in this directory, so you don't need to stop and restart the app for each change.
Next Steps
Next you will learn how to add your first task flow to the app.